ipad case tutorial
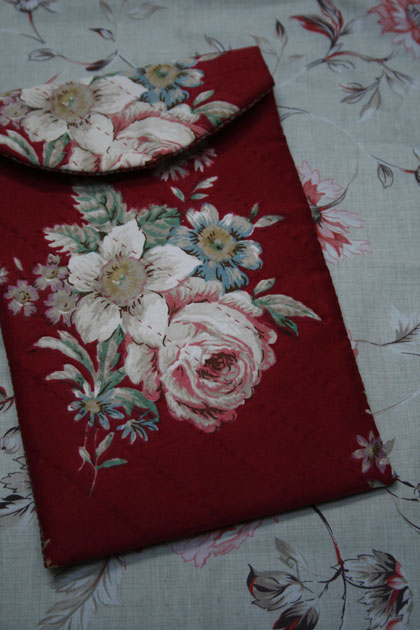 My little business has had a bit of a growth spurt recently. So to celebrate I’ve treated myself to an ipad mini. And let me tell you, it’s a thing of beauty. I’m hoping it will make travelling, working and generally being away from home easier and more pleasant, and I can Instagram at last too!
So, of course I needed a cover. I liked the idea of protecting brand new technology with a vintage quilt. And then I thought you might like a little tutorial:
Requirements:
- main and lining fabric
- wadding
- hand quilting and machine sewing thread
- snap fastener
- side plate for curved end
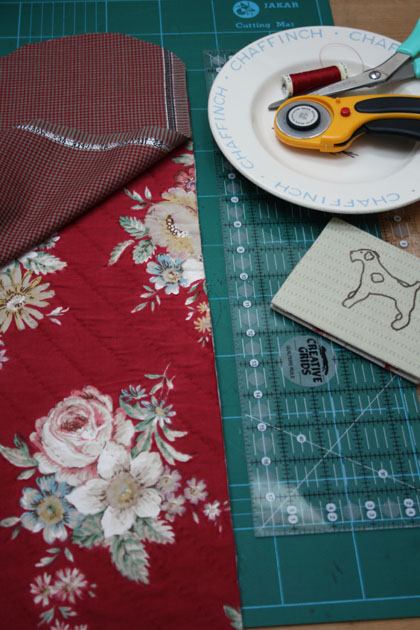 Prepare fabric. Cut main, lining fabric and wadding calculating the required size like this: Width: the width of the device plus 1 1/2 inches Length: double the length of your device plus half of that again plus 1/2 inch seam allowance.
So, for my ipad mini I cut 6 1/2 inches x 22 1/2 inches.
Curved end. Draw round a side plate to create a gentle curve for the flap end of the case. Repeat for main, lining and wadding.
Hand quilt. Place your wadding behind the main fabric and hand quilt with small even running stitches. I chose to do diagonal lines. You can machine quilt if you prefer.
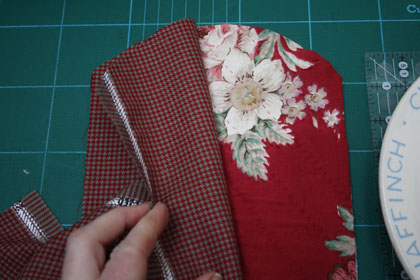 Add lining. Place lining and main fabric right sides together, aligning the curved ends. Pin in place.
Sew together. On the machine and starting half way down one long side, sew with a 1/4 inch seam allowance, all round until you are within 3 or 4 inches of where you started. Leave this opening.
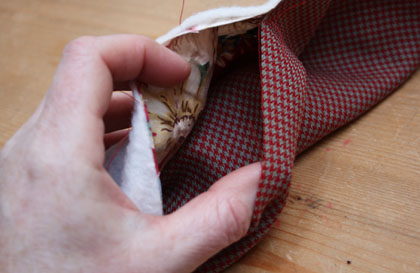 Turn right side out. Clip the curves and trim the excess fabric away from the corners. Turn right side out. Press.
Close opening. Fold the seam allowances inside the case and slipstitch closed with tiny stitches.
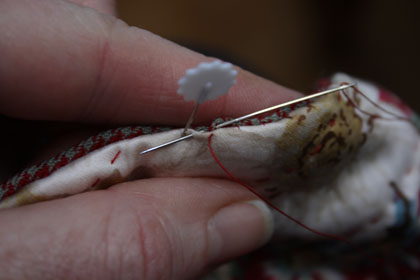
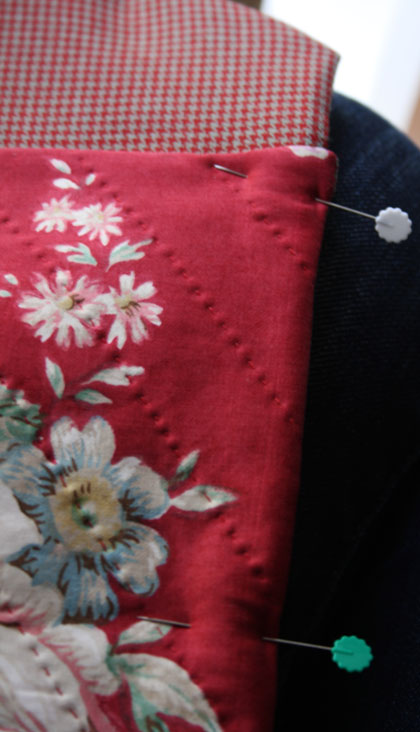
Fold Case. Fold the flat end of the case up until it is the depth of your device (8 inches for my ipad mini). Pin both sides in place. Slipstitch the seam. I sewed the lining fabrics together, not the main fabric.
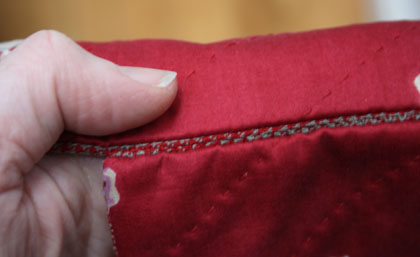
Attach fastening. Hand stitch a snap fastener to the centre of the flap.
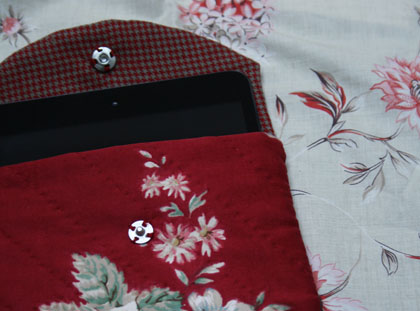 Admire. Place device inside it’s new case, step back and admire your work and never, ever point out your mistakes!
Tuesday, March 12th, 2013 at 4:36 pm
This post is filed under Other, Patchwork and quilting, Sewing.
You can follow any responses to this entry through the RSS 2.0 feed.
You can leave a response, or trackback from your own site.





March 12th, 2013 at 4:47 pm
Congratulations on business doing well. I’m thrilled for you.
March 12th, 2013 at 8:06 pm
Ipad mini? With iMovie? Much film potential methinks. And lovely case.
March 13th, 2013 at 10:54 am
Love it
March 18th, 2013 at 2:28 pm
really love the fabric… enjoy your new device : )
March 22nd, 2013 at 5:42 pm
Congratulations on your business’ growth spurt!
I’m hoping for an opportunity to meet you in Houston in the fall, if not before in London.
Seeing the fabric, you chose for your iPad case, was like dejavu. As I was growing up, this pretty fabric was the upholstery on my grandparents’ chairs in their summer cottage. (I spent many happy weeks with them in their cottage during my school summer holidays.)